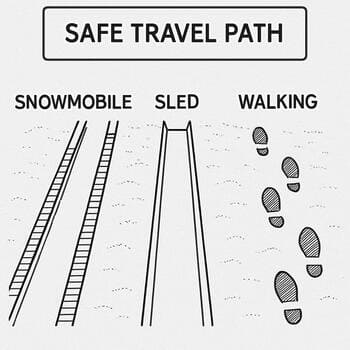
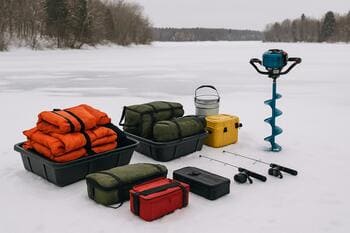
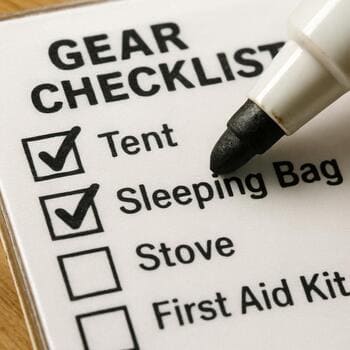
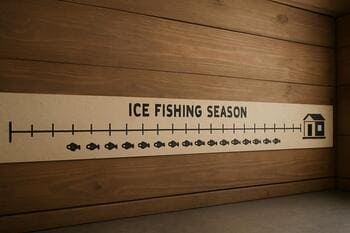
Safety ladder
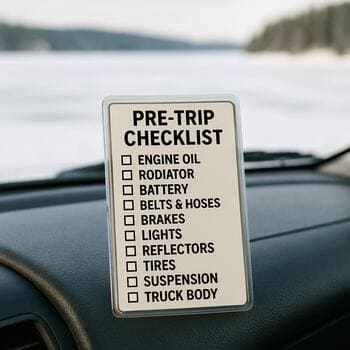
Thin, clear steps for checking ice, weather and exits before you light the stove.
- Ice thickness checkpoints
- Entry and escape routes
- Cabin placement rules for cracks, currents and shorelines
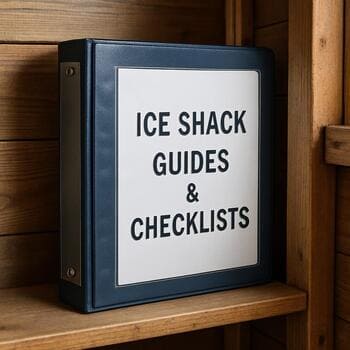
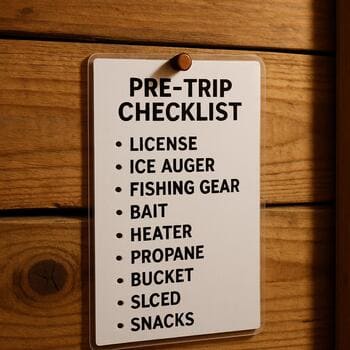
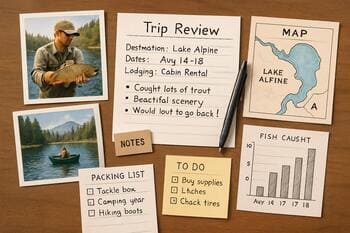
Field notebooks for frozen days
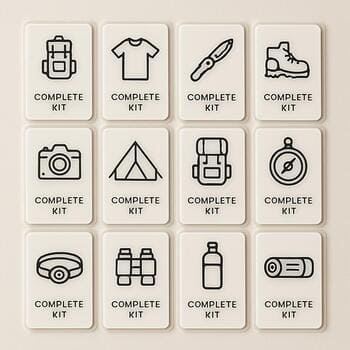
The Guides page is a map of habits, not rules. Each card belongs to one of three tracks: stay-safe checks, inside-comfort tweaks or pack-and-reset rituals when you leave the ice.
You can follow a single track on a short solo night, or weave all three together when you run a tiny base with several cabins. Every guide is written so it fits on a wall strip, dashboard card or small notebook beside your thermos.


Choose one track for the day, then grab the matching checklist and layout notes. Switching tracks is as easy as flipping a card.
Thin, clear steps for checking ice, weather and exits before you light the stove.
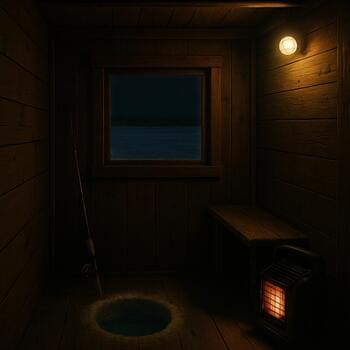
Small reminders that keep light, heat and noise balanced over a long session.
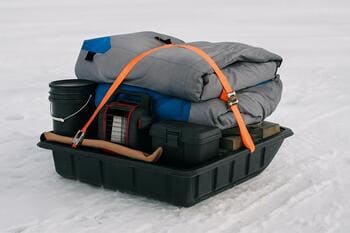
End-of-day steps so nothing gets buried, forgotten or left half-frozen on the ice.
This ladder fits on a single card. You can read it in the dark next to the truck before anyone steps onto the lake.
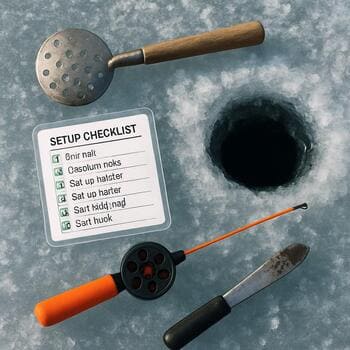
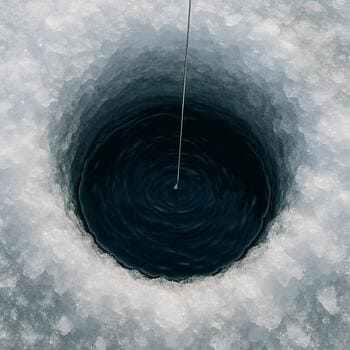
This routine links ice checks, first holes and cabin placement so the shack never lands in a bad pocket.
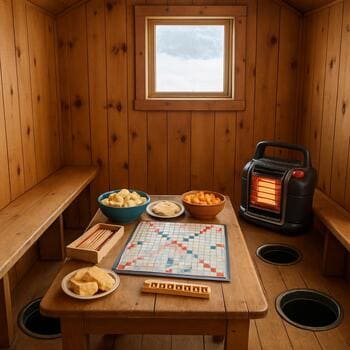
Four tiny checks keep the cabin bright, warm and quiet without pulling you out of the bite.
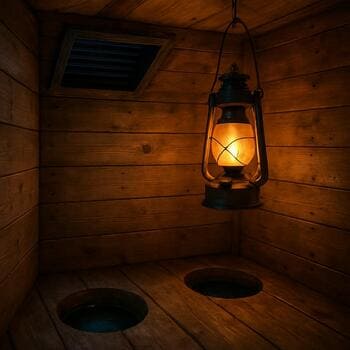
Lanterns bright enough for knots, dim enough for sleep.
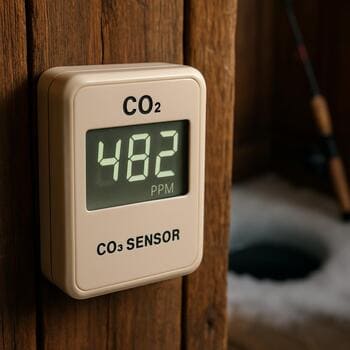
Crack in the vent and door, checked with a hand near the roof.
Stove turned down once layers are off, not when heads ache.
Ten-minute quiet pocket where phones and drills rest.
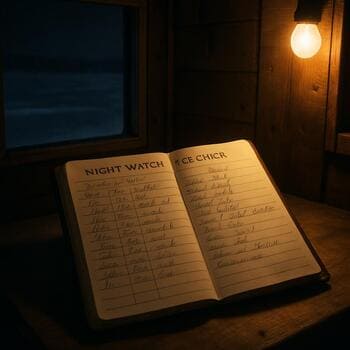
The log is just a thin strip next to the bunk, but it keeps track of checks, fish and heater tweaks through the dark.
Time marks show when you looked at the ice, vent, stove and sky.
Short arrows mark when you drilled a fresh hole or moved a rod.
A tiny dot next to the time means “all checks good, keep the layout”.
A circle means “change this next trip” so the layout keeps evolving.
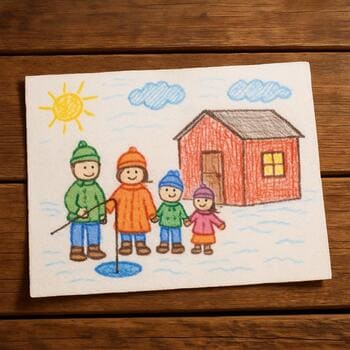
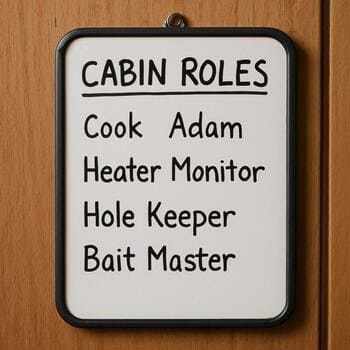
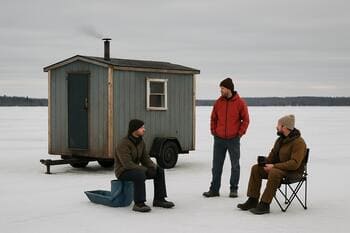
When kids and guests join, the rules get softer but clearer: short sessions, warm corners and tiny jobs everyone can own.
The board keeps the cabin from turning into a noisy maze. It also reminds you that a good story matters more than a full bucket.
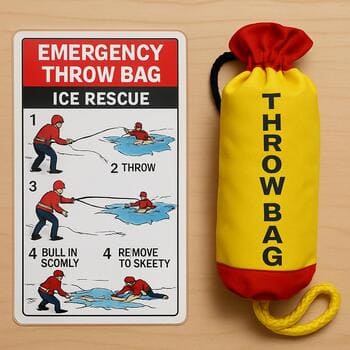
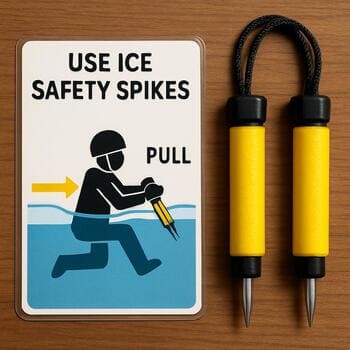
These are the only cards you hope to never read. They live next to spikes, throw bag and phone, not in a closed box.
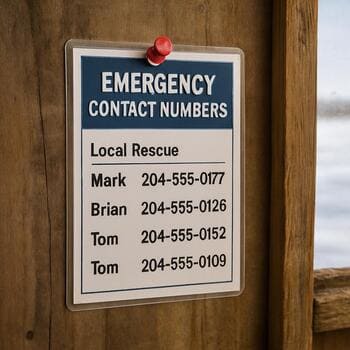
Two rectangles on the ground keep your day from exploding over the parking lot: one for loading, one for checking what came back.
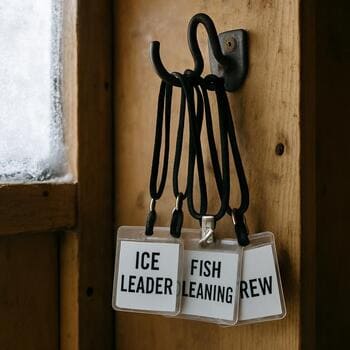
One narrow strip on the wall tells who checks ice, who watches heat and who owns the pack-down.
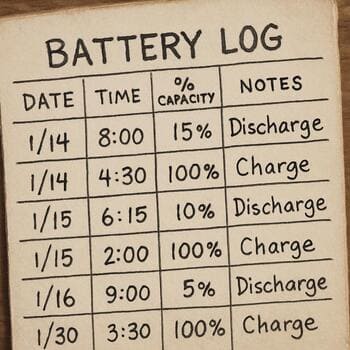
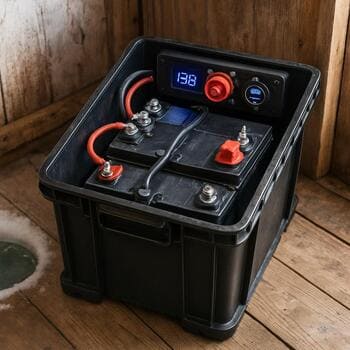
The log is half layout, half checklist. It knows where each battery slept and how it came back.
Mark which cabin outlet or hole camera each battery feeds.
Note the time you plug in, not just when things go flat.
Draw a tiny crate icon next to the place where empties must land.
Circle any box that felt tight on power so you adjust the next layout.
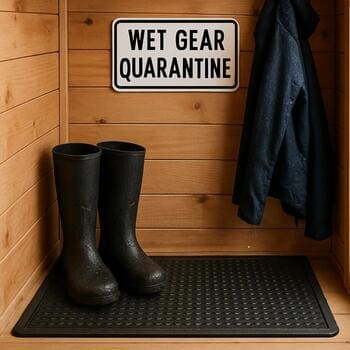
One mat on the floor keeps leaks and slush in one place and shows when the cabin is too crowded.
Halfway to the spot is the best time to breathe, listen and decide if today’s layout still makes sense.
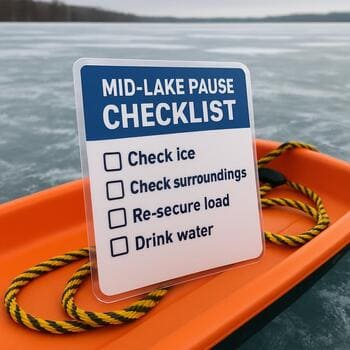
The review happens at home or in the cabin, but always before tubs explode back into shelves and corners.
Circle which layout card you used and whether the ice matched what you drew.

Draw just enough to remember what felt cramped or calm next time.

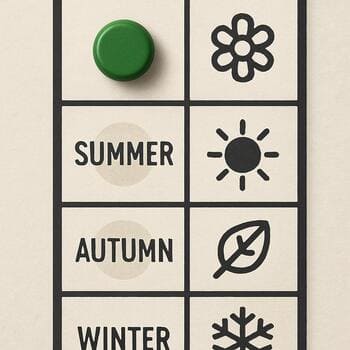
Use a single marker color each season so your brain learns the pattern.
One narrow line on the wall holds every layout card that mattered this winter.
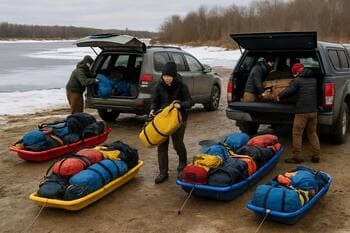
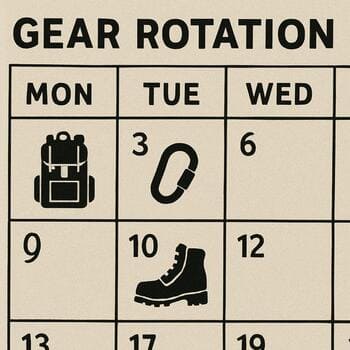
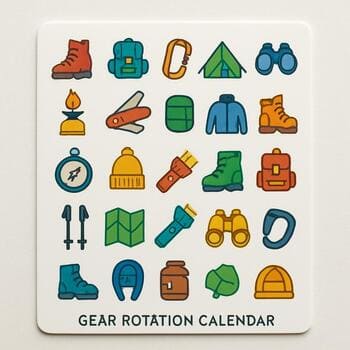
The calendar is not about dates. It is about which cabin pieces rest, dry and travel on each trip.

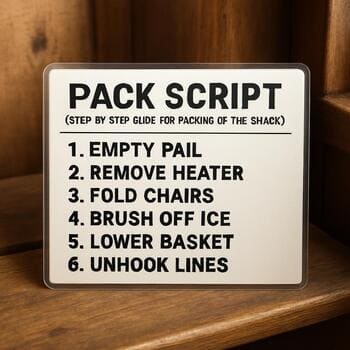
The script is just three or four lines, read between pulling on gloves and turning off the stove.

One wide spread on the floor shows how cabins, cards and gear connect. You can always come back to this picture when layouts feel noisy again.
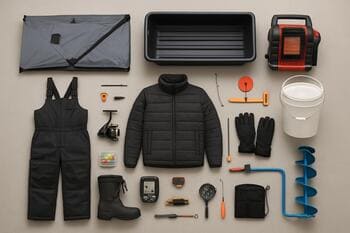
The best kits are quiet: every rope knows its crate, every card knows its hook and every cabin layout has one guide track it loves. When you can see the whole set at once, you know what to leave behind next trip.